
It’s no wonder this recipe went viral when I first shared it! Whether you’re serving it for brunch, bringing it to a tailgate, or making it ahead for weekday mornings, this tater tot quiche is guaranteed to disappear fast. It even freezes and reheats beautifully, making it the perfect make-ahead breakfast to always have on hand.
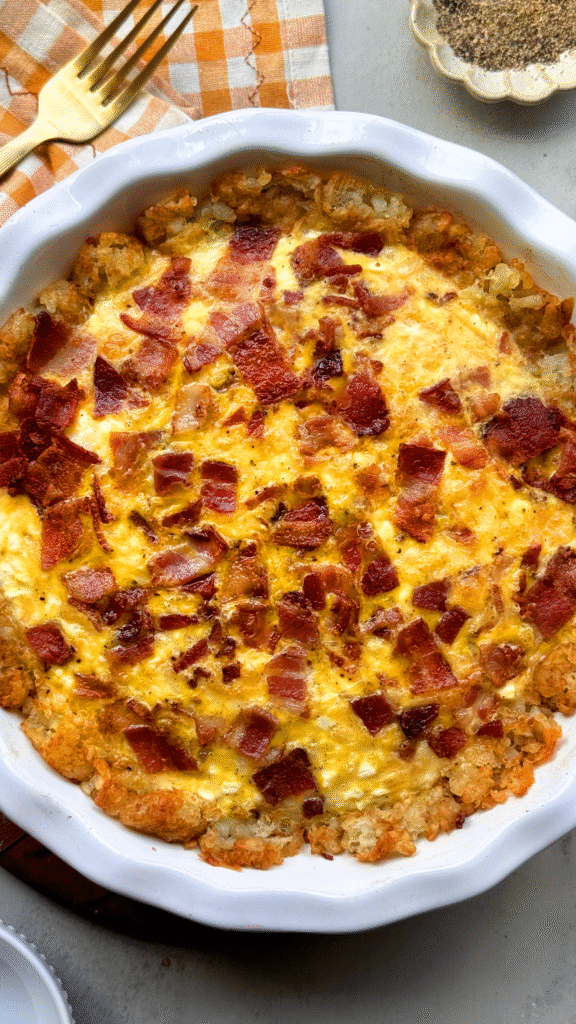
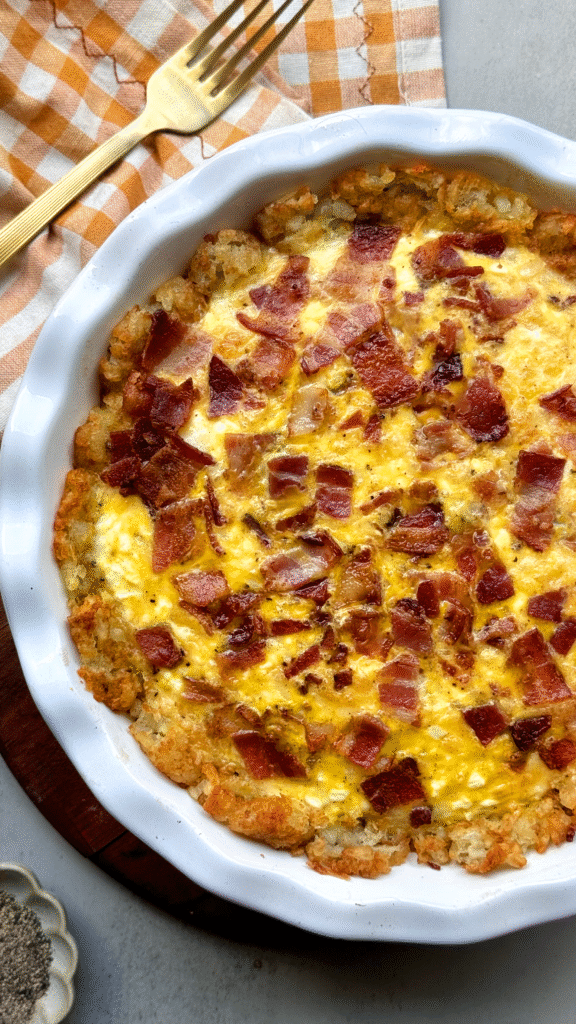
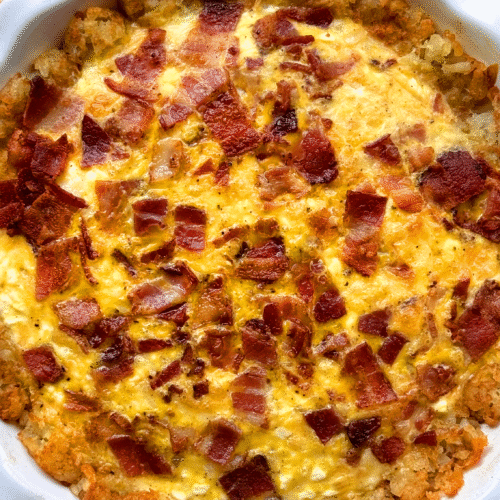
If you’ve never turned tater tots into a breakfast crust before, prepare to be obsessed. This Tater Tot Breakfast Pie is the ultimate comfort-meets-convenience recipe — crispy, golden tater tots on the bottom, filled with a creamy, protein-packed egg mixture, plenty of cheese, and crumbled bacon on top. It’s hearty, satisfying, and easy enough to throw together on a busy morning or for weekend brunch with friends.
I first made this quiche on a whim using ingredients I already had on hand, not knowing how it would turn out. To my surprise, it ended up being one of the best savory breakfast dishes I’ve ever made. All of the ingredients come together to create a perfectly creamy, custard-like filling, with crispy bacon as the finishing touch.
I’ve had plenty of comments on Instagram stating this would make the perfect Thanksgiving or Christmas morning breakfast!
Ingredients you’ll need for this tater tot breakfast pie:
- Frozen tater tots
- Eggs
- Salt & pepper
- Cottage Cheese- My preference is low-fat for this recipe, but any milkfat percentage will work
- Shredded cheese- I used sharp cheddar & gruyere, but feel free to use your favorite cheese!
- Bacon
Can I swap the cottage cheese? Swapping the cottage cheese or eliminating it from this recipe will result in a less creamy pie. The curds help to bind the pie, along with the eggs & cheese. I wouldn’t suggest replacing the cottage cheese.
why I love this recipe
I love this recipe because it uses simple, real ingredients — eggs, cottage cheese for an extra boost of protein and creaminess, and a mix of sharp cheddar and Gruyère for that rich, cheesy flavor. The tater tots make the perfect shortcut crust (no need to fuss with dough!), and once baked, they hold up beautifully with the egg filling.
This is the perfect breakfast meal prep! You can make it ahead and reheat throughout the week — or double the recipe, bake two quiches, and freeze one for later.
When I first made this tater tot breakfast pie, I was taking it to a friend as a postpartum meal. I wanted something that would be easy to serve (possibly even eat with a baby in her arms), would reheat well, but most importantly, a dish that would provide nutrients and protein to keep her full. This turned out to be the perfect dish!
make it your own
You can easily customize it with what you have on hand —
- swap the bacon for breakfast sausage — brown your sausage in a skillet, breaking into small pieces as you cook. Allow it to cool slightly, then add to the cottage cheese & egg mixture before pouring into the tater tot crust.
- toss in some veggies
- spinach— you can add fresh, sauteed spinach or frozen spinach that has been defrosted & liquid squeezed out.
- peppers– chop bell peppers, jalapenos, or pepper of choice and sauté in a skillet with a little oil before adding to the mixture. For a crunchier bite, add fresh peppers & onions to the egg mixture without sautéing prior.
- onions– dice a yellow onion and sauté in a skillet with a little oil before adding to the mixture. For a crunchier bite, add uncooked, diced onions to the egg mixture without sautéing prior.
- make it vegetarian
What cheese can I use? There are no rules with this quiche. You can easily swap the cheddar or gruyere for a mozzarella or, if you like a little heat, try shredded pepperjack cheese. When making quiche I gravitate towards cheeses that are creamy & melt well.

step-by-step
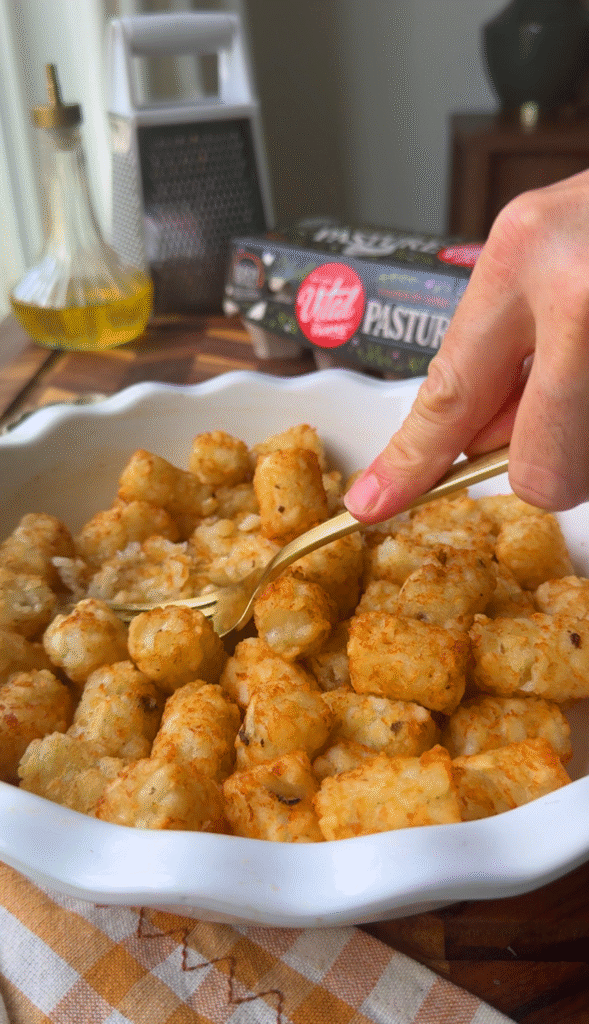
- Preheat the oven to 400°F. Spray a 9” pie dish with nonstick spray.
- Add the tater tots to the dish, covering the bottom in a single layer. You want to be sure you’ll have enough to cover the bottom & sides of the baking dish once smashed down. Bake for about 15 minutes, or until tender and lightly crisp.
- Cook the bacon. I prefer to bake mine on a sheet pan in the oven, but can fry in a pan or in the microwave.
- Whisk together the eggs, cottage cheese, shredded cheese, salt, and pepper in a medium-sized bowl.
- Remove the tots from the oven and gently mash them into an even layer, pressing up the sides to form a crust.
- Reduce oven temperature to 350°F. Pour the egg mixture over the tater tot crust and top with crumbled bacon. Alternatively, you can mix some bacon in with the filling & keep some to also sprinkle over the top.
- Bake for 35 minutes, or until the center is just set. Note: It will have a little wiggle to it & will set up once cooled down.
- Let cool slightly before slicing and serving.
storing tips💡
Can I reheat or freeze this? Yes! Whether you are making this for meal prep & plan to eat throughout the week or you are stocking up your freezer, this quiche works great. When reheating I love to add a slice to my toaster oven to crisp up the potatoes. If freezing, bake as normal, let completely cool then wrap in saran wrap before freezing. To reheat, just preheat the oven to 350 degrees & bake until hot throughout, roughly 30 minutes.
Want more recipes like this?
Check out my High-protein McGriddle Muffins
Tater Tot Breakfast Quiche
Ingredients
- 2 cups frozen tater tots
- 6 eggs
- ½ cup cottage cheese
- 1 teaspoon salt
- 1 teaspoon pepper
- 1 cup shredded cheese I used sharp cheddar & Gruyère
- 6 slices bacon cooked and crumbled
Instructions
- Preheat the oven to 400°F. Spray a 9” pie dish with nonstick spray.
- Add the tater tots to the dish, covering the bottom in a single layer. Bake for about 15 minutes, or until tender and lightly crisp.
- While the tots bake, cook the bacon until crispy.
- In a medium bowl, whisk together the eggs, cottage cheese, shredded cheese, salt, and pepper.
- Remove the tots from the oven and gently mash them into an even layer, pressing up the sides to form a crust.
- Reduce oven temperature to 350°F. Pour the egg mixture over the tater tot crust and top with crumbled bacon.
- Bake for 35 minutes, or until the center is just set.
- Let cool slightly before slicing and serving.